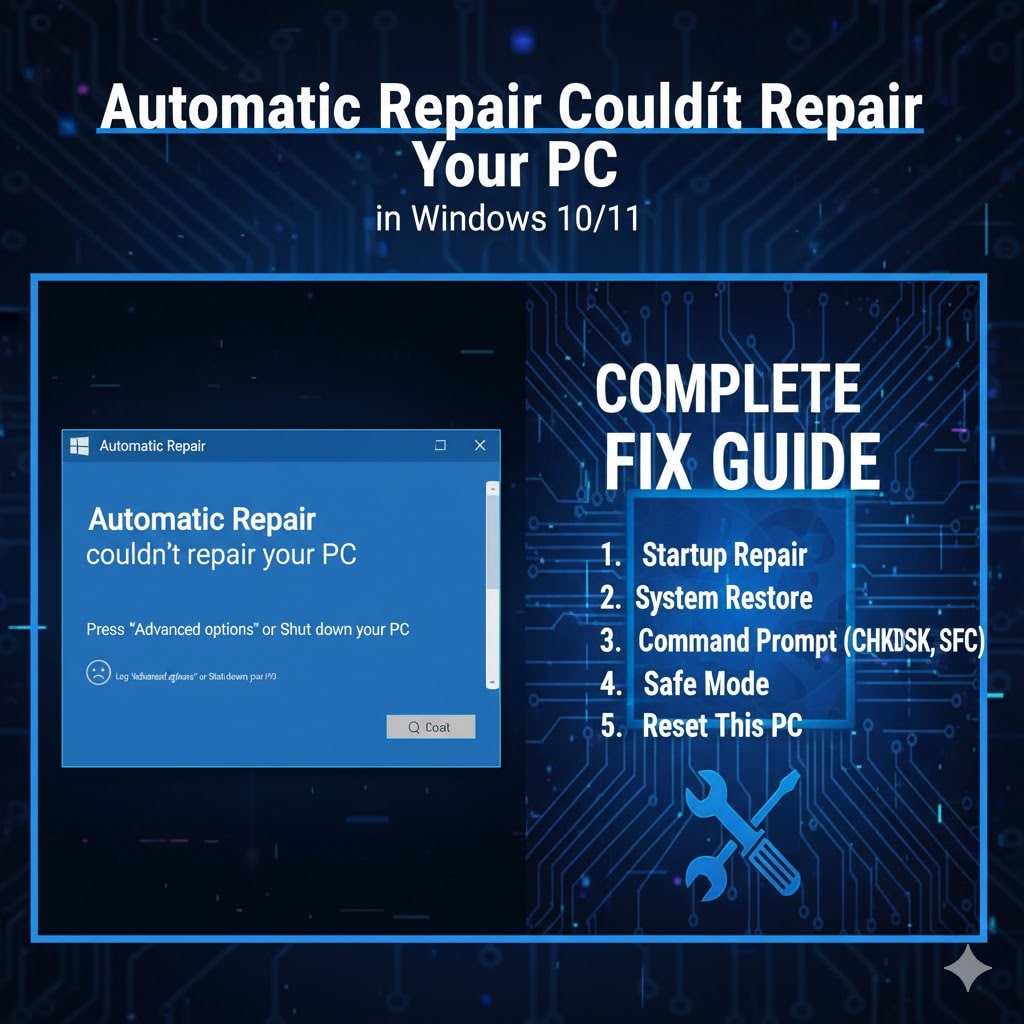
Automatic Repair Couldn’t Repair Your PC in Windows 10/11 – Complete Fix Guide: When you turn on your computer and instead of loading Windows, you see a message saying “Automatic Repair couldn’t repair your PC”, it can be worrying. This error means Windows tried to fix a startup problem automatically but failed. The same issue may also appear as “Startup Repair couldn’t repair your PC” or “Your PC couldn’t start properly.”
In this guide, you will learn in detail what causes this issue, how to fix it step by step, and how to prevent it from happening again. We will cover solutions for both Windows 10 and Windows 11 systems.
What Is Automatic Repair in Windows
Automatic Repair is a built-in Windows recovery feature that runs when the operating system cannot start properly. Its job is to detect and fix common startup issues such as corrupted files, missing system data, or boot-related errors.
When Automatic Repair fails, you may see messages like
-
Automatic Repair couldn’t repair your PC
-
Startup Repair couldn’t repair your PC
-
Windows Automatic Repair couldn’t repair your PC
-
Your PC couldn’t start properly
This means the recovery process was unable to resolve the underlying problem automatically.
Common Causes of the Error
There are many reasons why Automatic Repair couldn’t repair your PC appears. Below are the most common causes:
-
Corrupted system files – Missing or damaged files can prevent Windows from loading normally.
-
Faulty updates or drivers – A recent Windows update or driver installation may have changed essential startup settings.
-
Hard drive errors – Bad sectors or a failing drive can interrupt the boot sequence.
-
Corrupted boot configuration data (BCD) – When the boot loader cannot find correct startup information.
-
Malware infection – Some malicious software damages core Windows components.
-
Sudden shutdown or power loss – This can leave system files incomplete or broken.
-
Incompatible hardware changes – Adding or replacing parts such as RAM or SSD can cause startup conflicts.
Symptoms You May Notice
Before the message Startup Repair couldn’t repair your PC appears, users often notice a few warning signs:
-
Endless restart loop saying Automatic Repair preparing
-
Blue or black screen after startup
-
Windows logo appears but desktop never loads
-
Message like Attempting Repairs for a long time
-
System freezes or restarts automatically
If your automatic repair windows 10 not working, you might be stuck in this loop for several minutes or even hours.
How Long Does Automatic Repair Take
Normally, automatic repair windows 10 or automatic repair windows 11 takes around 10 to 30 minutes, depending on your system speed and issue severity. However, if the process runs longer than an hour, or you see no progress, it is likely stuck.
So, how long does startup repair take? Usually, it completes within 20 minutes. If it keeps showing attempting repairs windows 10 or attempting repairs windows 11 for hours, you should move on to manual troubleshooting.
Step-by-Step Fixes for “Automatic Repair Couldn’t Repair Your PC”
Let us now go through detailed steps to fix windows automatic repair not working on Windows 10 and Windows 11.
1. Boot into Advanced Startup Options
To fix automatic repair couldn’t repair your PC windows 11 or windows 10, you first need to access Advanced Startup Options.
Method 1: Interrupt Boot Sequence
-
Turn on your computer.
-
As soon as you see the Windows logo, press and hold the power button to shut down.
-
Repeat this process three times.
-
On the fourth startup, Windows will open Advanced Repair Options automatically.
Method 2: Use Installation Media
If the above method fails, create a bootable USB using another computer.
-
Insert the USB drive and boot your PC from it.
-
Select Repair your computer instead of Install.
-
Choose Troubleshoot → Advanced Options.
2. Run Startup Repair Again
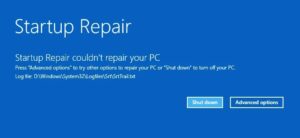
Once you enter the Advanced Options menu, select Startup Repair.
This feature will attempt to detect and fix boot problems again.
If you see startup repair couldn’t repair your PC, move to the next method.
3. Run System File Checker (SFC) and DISM
Corrupted system files are one of the most common causes of windows automatic repair failed messages.
-
Go to Advanced Options → Command Prompt.
-
Type the following commands one by one and press Enter after each:
Wait for it to complete, then run:
This process will scan and repair damaged system files and restore missing components.
After completion, restart your computer. Many users find that automatic repair windows 10 not working issues are resolved after this step.
4. Repair Boot Configuration Data (BCD)
If the system’s boot data is damaged, you may get errors like windows startup repair couldn’t repair your PC. To fix it:
-
Open Command Prompt in Advanced Options.
-
Type these commands one by one:
-
Restart your computer.
This will rebuild your system’s boot loader and may fix windows 11 automatic repair couldn’t repair your PC issues.
5. Check Disk for Errors
Hard drive problems can also cause windows cannot repair this computer automatically errors.
In Command Prompt, type:
Replace “C” with your system drive letter if different.
This command will scan the drive for bad sectors and repair file system errors. Depending on disk size, it may take time.
6. Disable Automatic Repair Loop
Sometimes, Windows keeps restarting into automatic repair windows 10 endlessly. You can stop this loop manually.
-
Open Command Prompt in Advanced Options.
-
Type:
-
Press Enter and restart.
Now Windows will boot normally or show the real error instead of looping endlessly.
If needed, you can enable it again later using:
7. Use System Restore
If windows 11 startup repair couldn’t repair your PC, you can restore your system to a previous working point.
-
Go to Troubleshoot → Advanced Options → System Restore.
-
Choose a restore point before the problem started.
-
Let the system restore complete.
This can fix issues caused by bad updates or driver changes.
8. Uninstall Recent Updates
Sometimes a new update breaks the system and causes startup repair not working windows 11.
-
Go to Advanced Options → Uninstall Updates.
-
Remove the latest Quality or Feature update.
-
Restart your PC.
This often resolves problems after major Windows upgrades.
9. Check Drivers and Hardware
If you recently added new hardware, remove or disconnect it temporarily. Faulty RAM or SSDs can cause windows automatic repair couldn’t repair your PC errors.
Also, outdated or corrupted drivers can stop Windows from booting. Boot in Safe Mode and update all device drivers.
10. Reset or Reinstall Windows
If all else fails and automatic repair windows 11 แก้ยังไง or cara mengatasi automatic repair windows 11 still remains unsolved, you can reset your system.
-
Go to Advanced Options → Reset this PC.
-
Choose Keep my files to preserve your data.
-
Follow on-screen steps to reinstall Windows.
This method fixes almost all cases where automatic repair couldn’t repair your PC continues to appear.
How to Prevent Automatic Repair Problems in Future
To avoid facing startup repair couldn’t repair your PC windows 11 or windows automatic repair failed again, follow these preventive measures:
-
Keep Windows updated – Regular updates patch security and performance issues.
-
Use antivirus software – Protects your system from harmful files.
-
Avoid sudden shutdowns – Always power off safely.
-
Regularly check your hard drive using chkdsk.
-
Backup your data and create restore points periodically.
-
Update drivers carefully – Always download from official sources.
-
Maintain sufficient disk space for system operations.
These simple practices help your system run smoothly and reduce the chance of automatic repair errors.
Frequently Asked Questions
Q1. What does “Automatic Repair couldn’t repair your PC” mean
It means Windows tried to fix startup issues but failed to find or repair the cause.
Q2. How long does Windows Automatic Repair take
Usually, automatic repair takes between 10 and 30 minutes. If it runs longer than an hour, it may be stuck.
Q3. How to stop Automatic Repair on Windows 11
You can disable the loop by running the command
bcdedit /set {default} recoveryenabled No
from the Command Prompt.
Q4. Can I lose my files after Automatic Repair
Normally no, but if you reinstall Windows or reset the PC without choosing “Keep my files,” your data may be lost.
Q5. What if Startup Repair not working
If startup repair couldn’t repair your PC, use Command Prompt commands like SFC, DISM, and BOOTREC as explained above.
Q6. Why does it say “Windows cannot repair this computer automatically”
It happens when the system damage is too deep for automatic tools. Manual repair or reinstall is then required.
Q7. Does this problem occur in laptops
Yes, laptop automatic repair issues are as common as desktop ones. The same solutions work for both.
Final Thoughts
The message Automatic Repair couldn’t repair your PC can be stressful, but it is a common Windows error that can be fixed with proper steps. Whether you are using Windows 10 or Windows 11, the methods above will help restore your system.
From running SFC and DISM scans to repairing boot data and performing a system reset, each fix targets specific causes of windows automatic repair not working and startup repair not working.
If nothing else works, reinstalling Windows ensures a fresh start without errors.
Remember to maintain regular backups and system restore points to avoid future startup problems.
By following this complete guide, you can easily overcome automatic repair couldn’t repair your PC issues and bring your computer back to normal performance safely and effectively.